Posted on 2 Comments

How to Make Raw Milk Yogurt: Clay Cookware

I am very lucky to be able to get milk straight from the farm.  According to Ayurveda, cow’s milk is considered to be one of the most sattvic, most harmonizing foods on the planet.  It is considered to be one of the most nourishing gifts from the mother cow, and the products made from this source are given this same reverence (yogurt and ghee, mainly.)

cow1 cow2

This has been found not to be many people’s experiences with our modern dairy.  The manipulation of the product, as well as the poor treatment of the animals involved, translates into poor quality stuff.  I plan to write more about my understanding of raw milk soon, but for now, I’d like to just share my gratitude for this food, and this recipe for making yogurt at home.

Fresh Yogurt with Cinnamon and Ginger.  Made in Miriam's Earthen Cookware
Made in Miriam’s Earthen Cookware

What you will need:

1/2 Gallon of whole milk (raw if possible)
2 or 3 T of yogurt ‘starter’ (aka plain yogurt with live cultures from the store is perfect)
A glass thermometer
A tall sauce pan
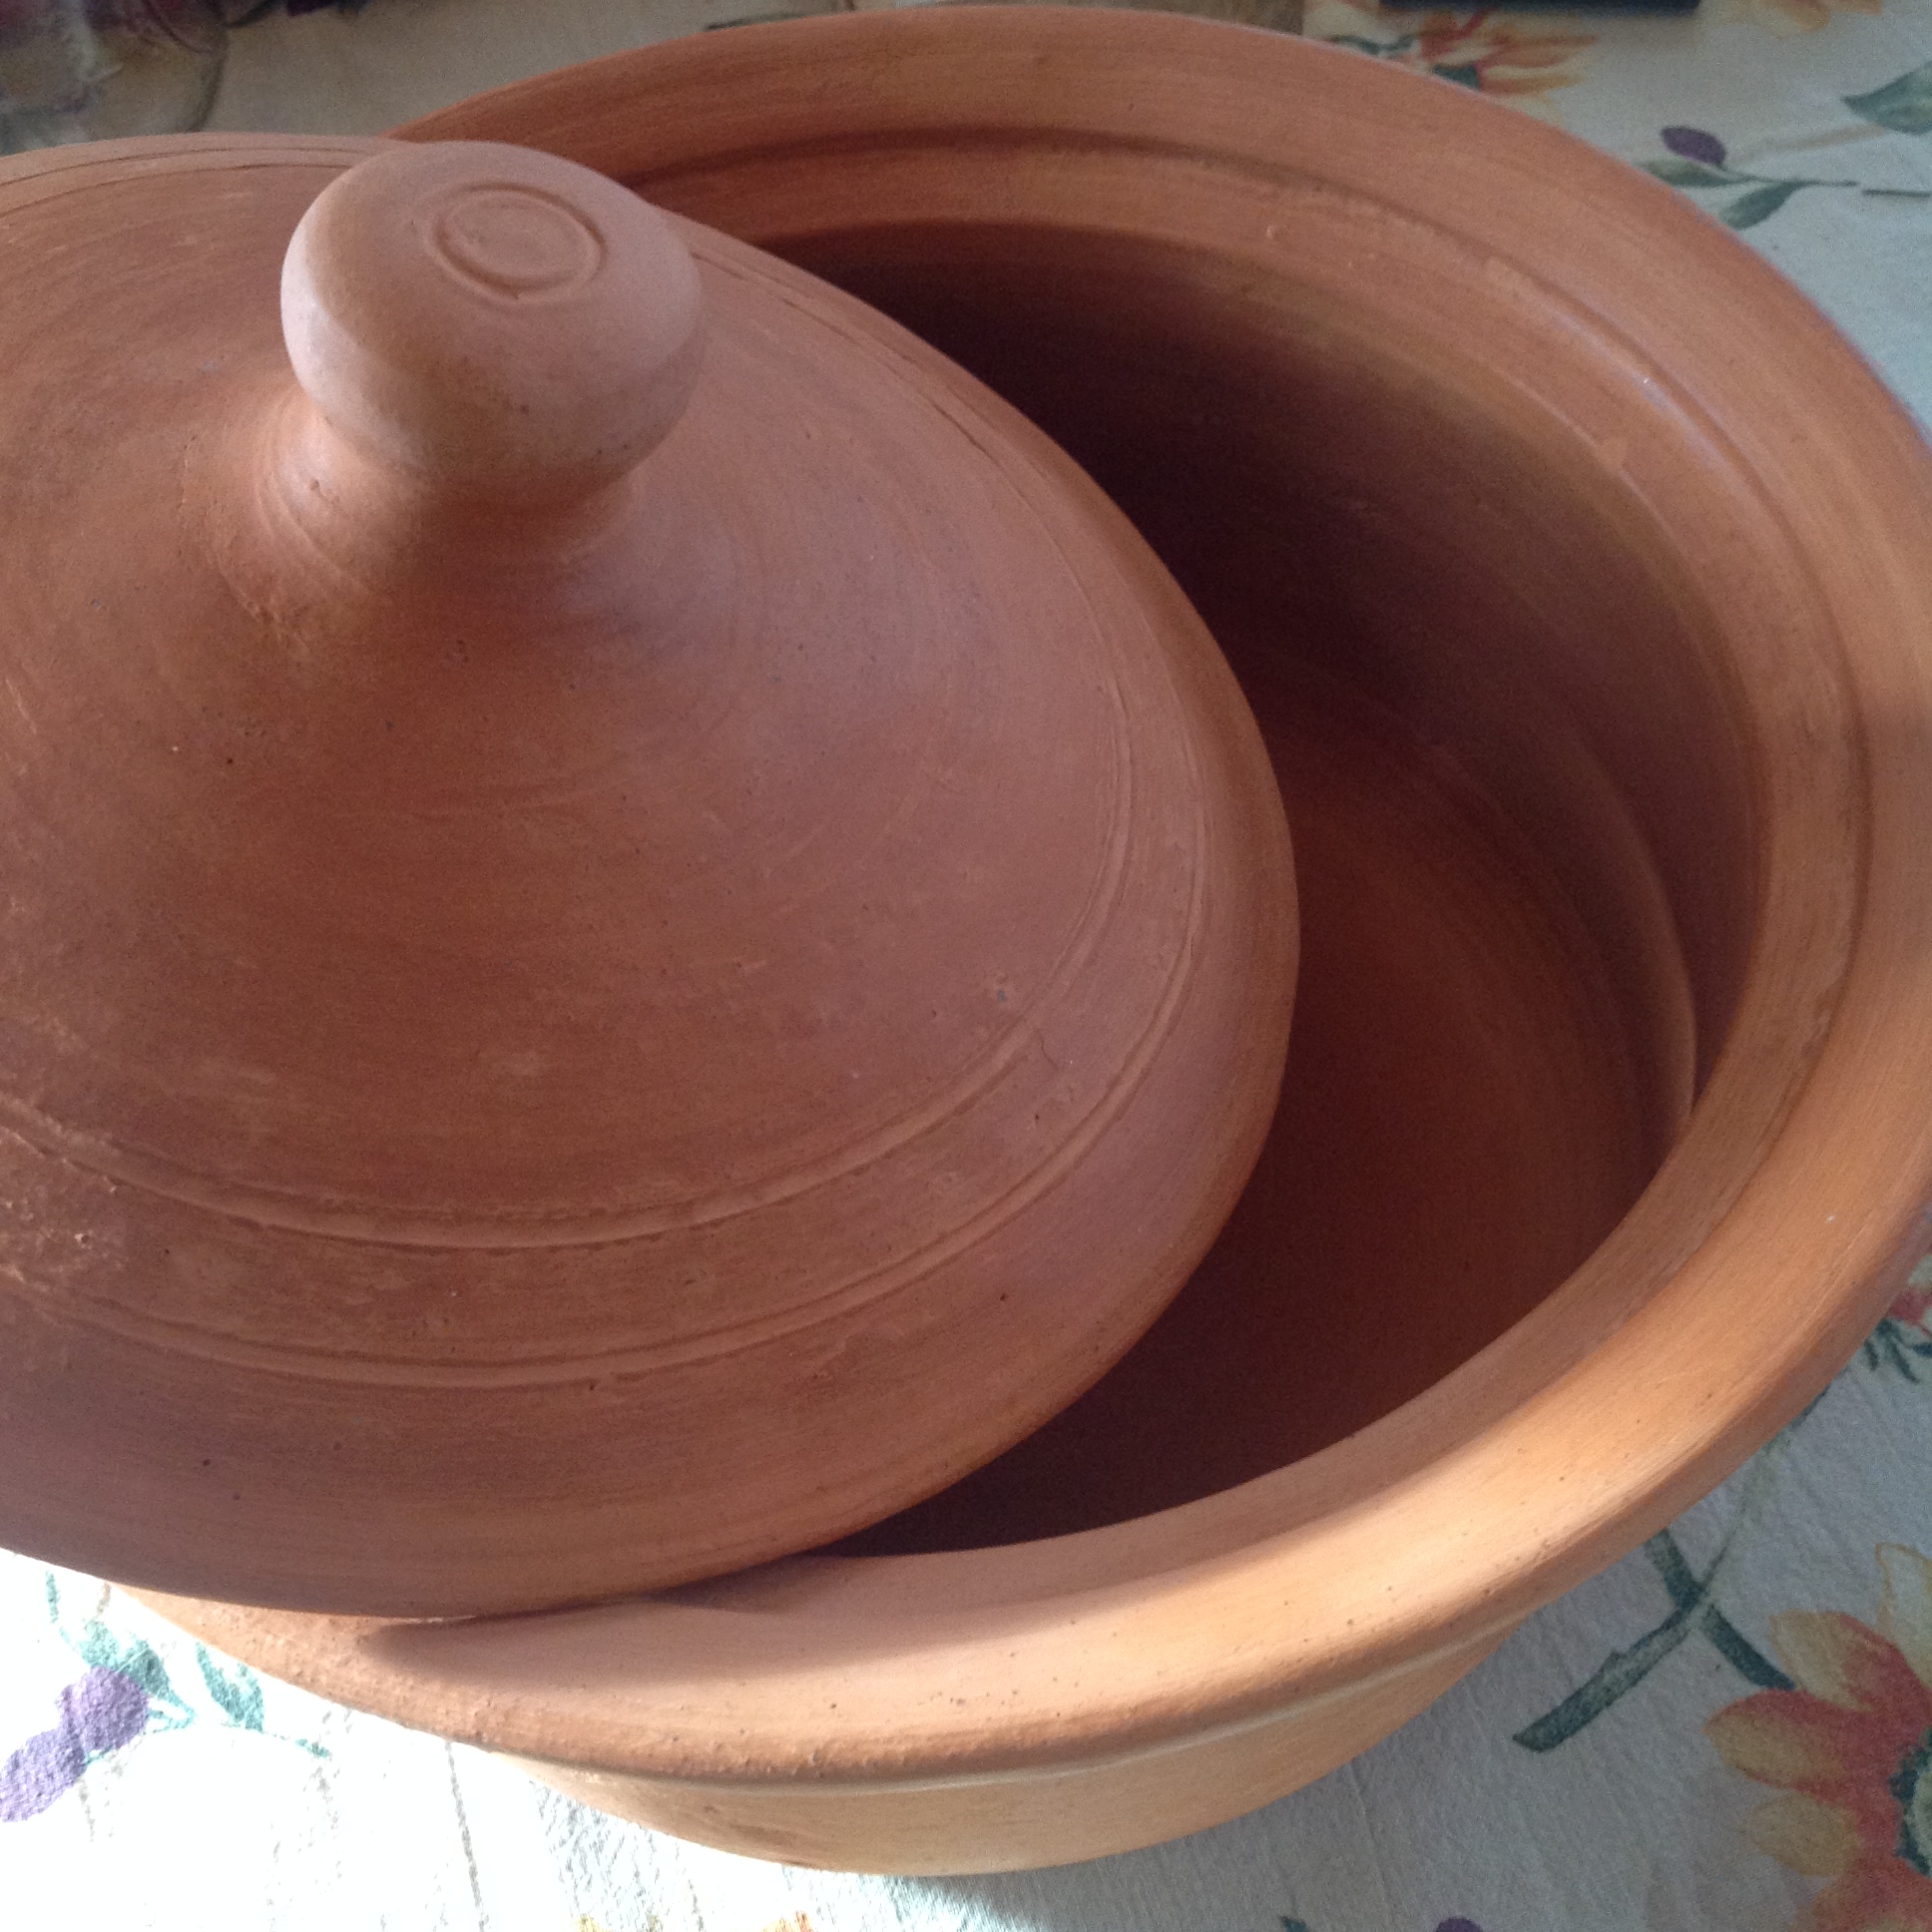
A container with a lid (Miriam’s Earthen Cookware was PERFECT – I have dedicated my 1 pot to yogurt making. I have also just used a clean dry 1/2 gal mason jar with lid successfully.)
A heating paid with a low setting, or a hot water bottle
A big blanket or towel
Ice and a bigger pot of water, or a sink of water
A clean spoon and/or a whisk for stirring

photo 3

Directions:

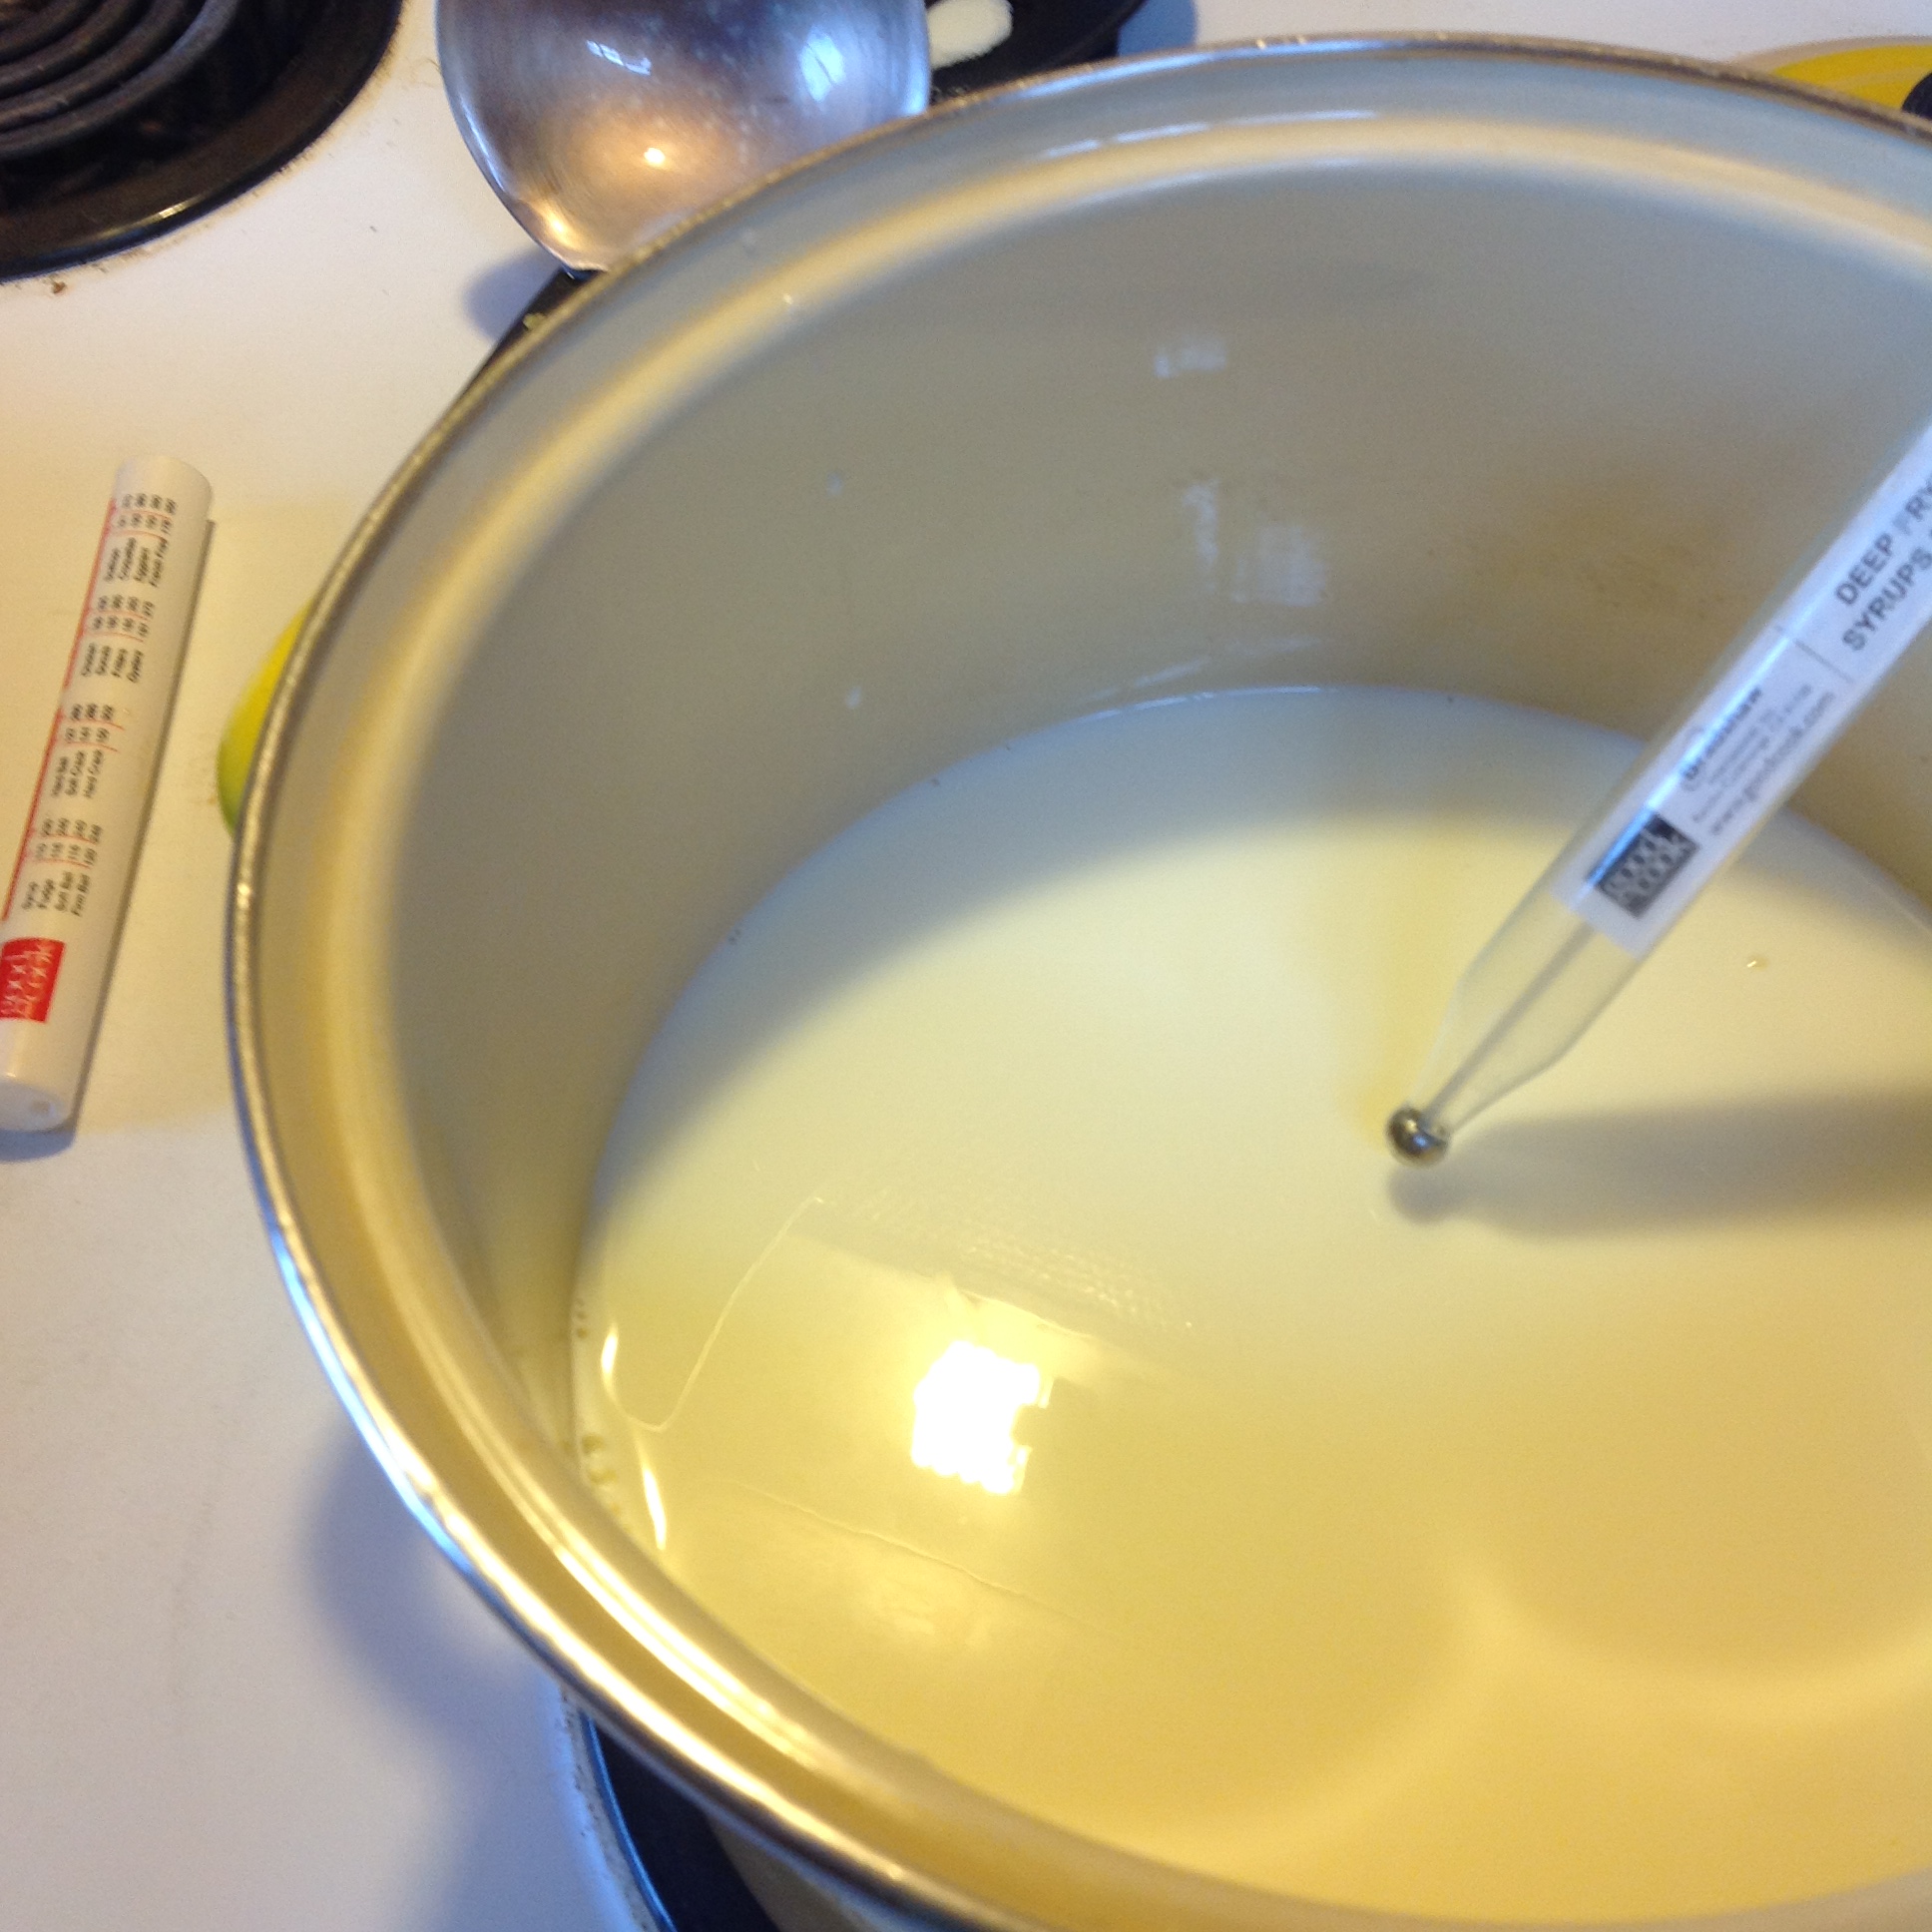
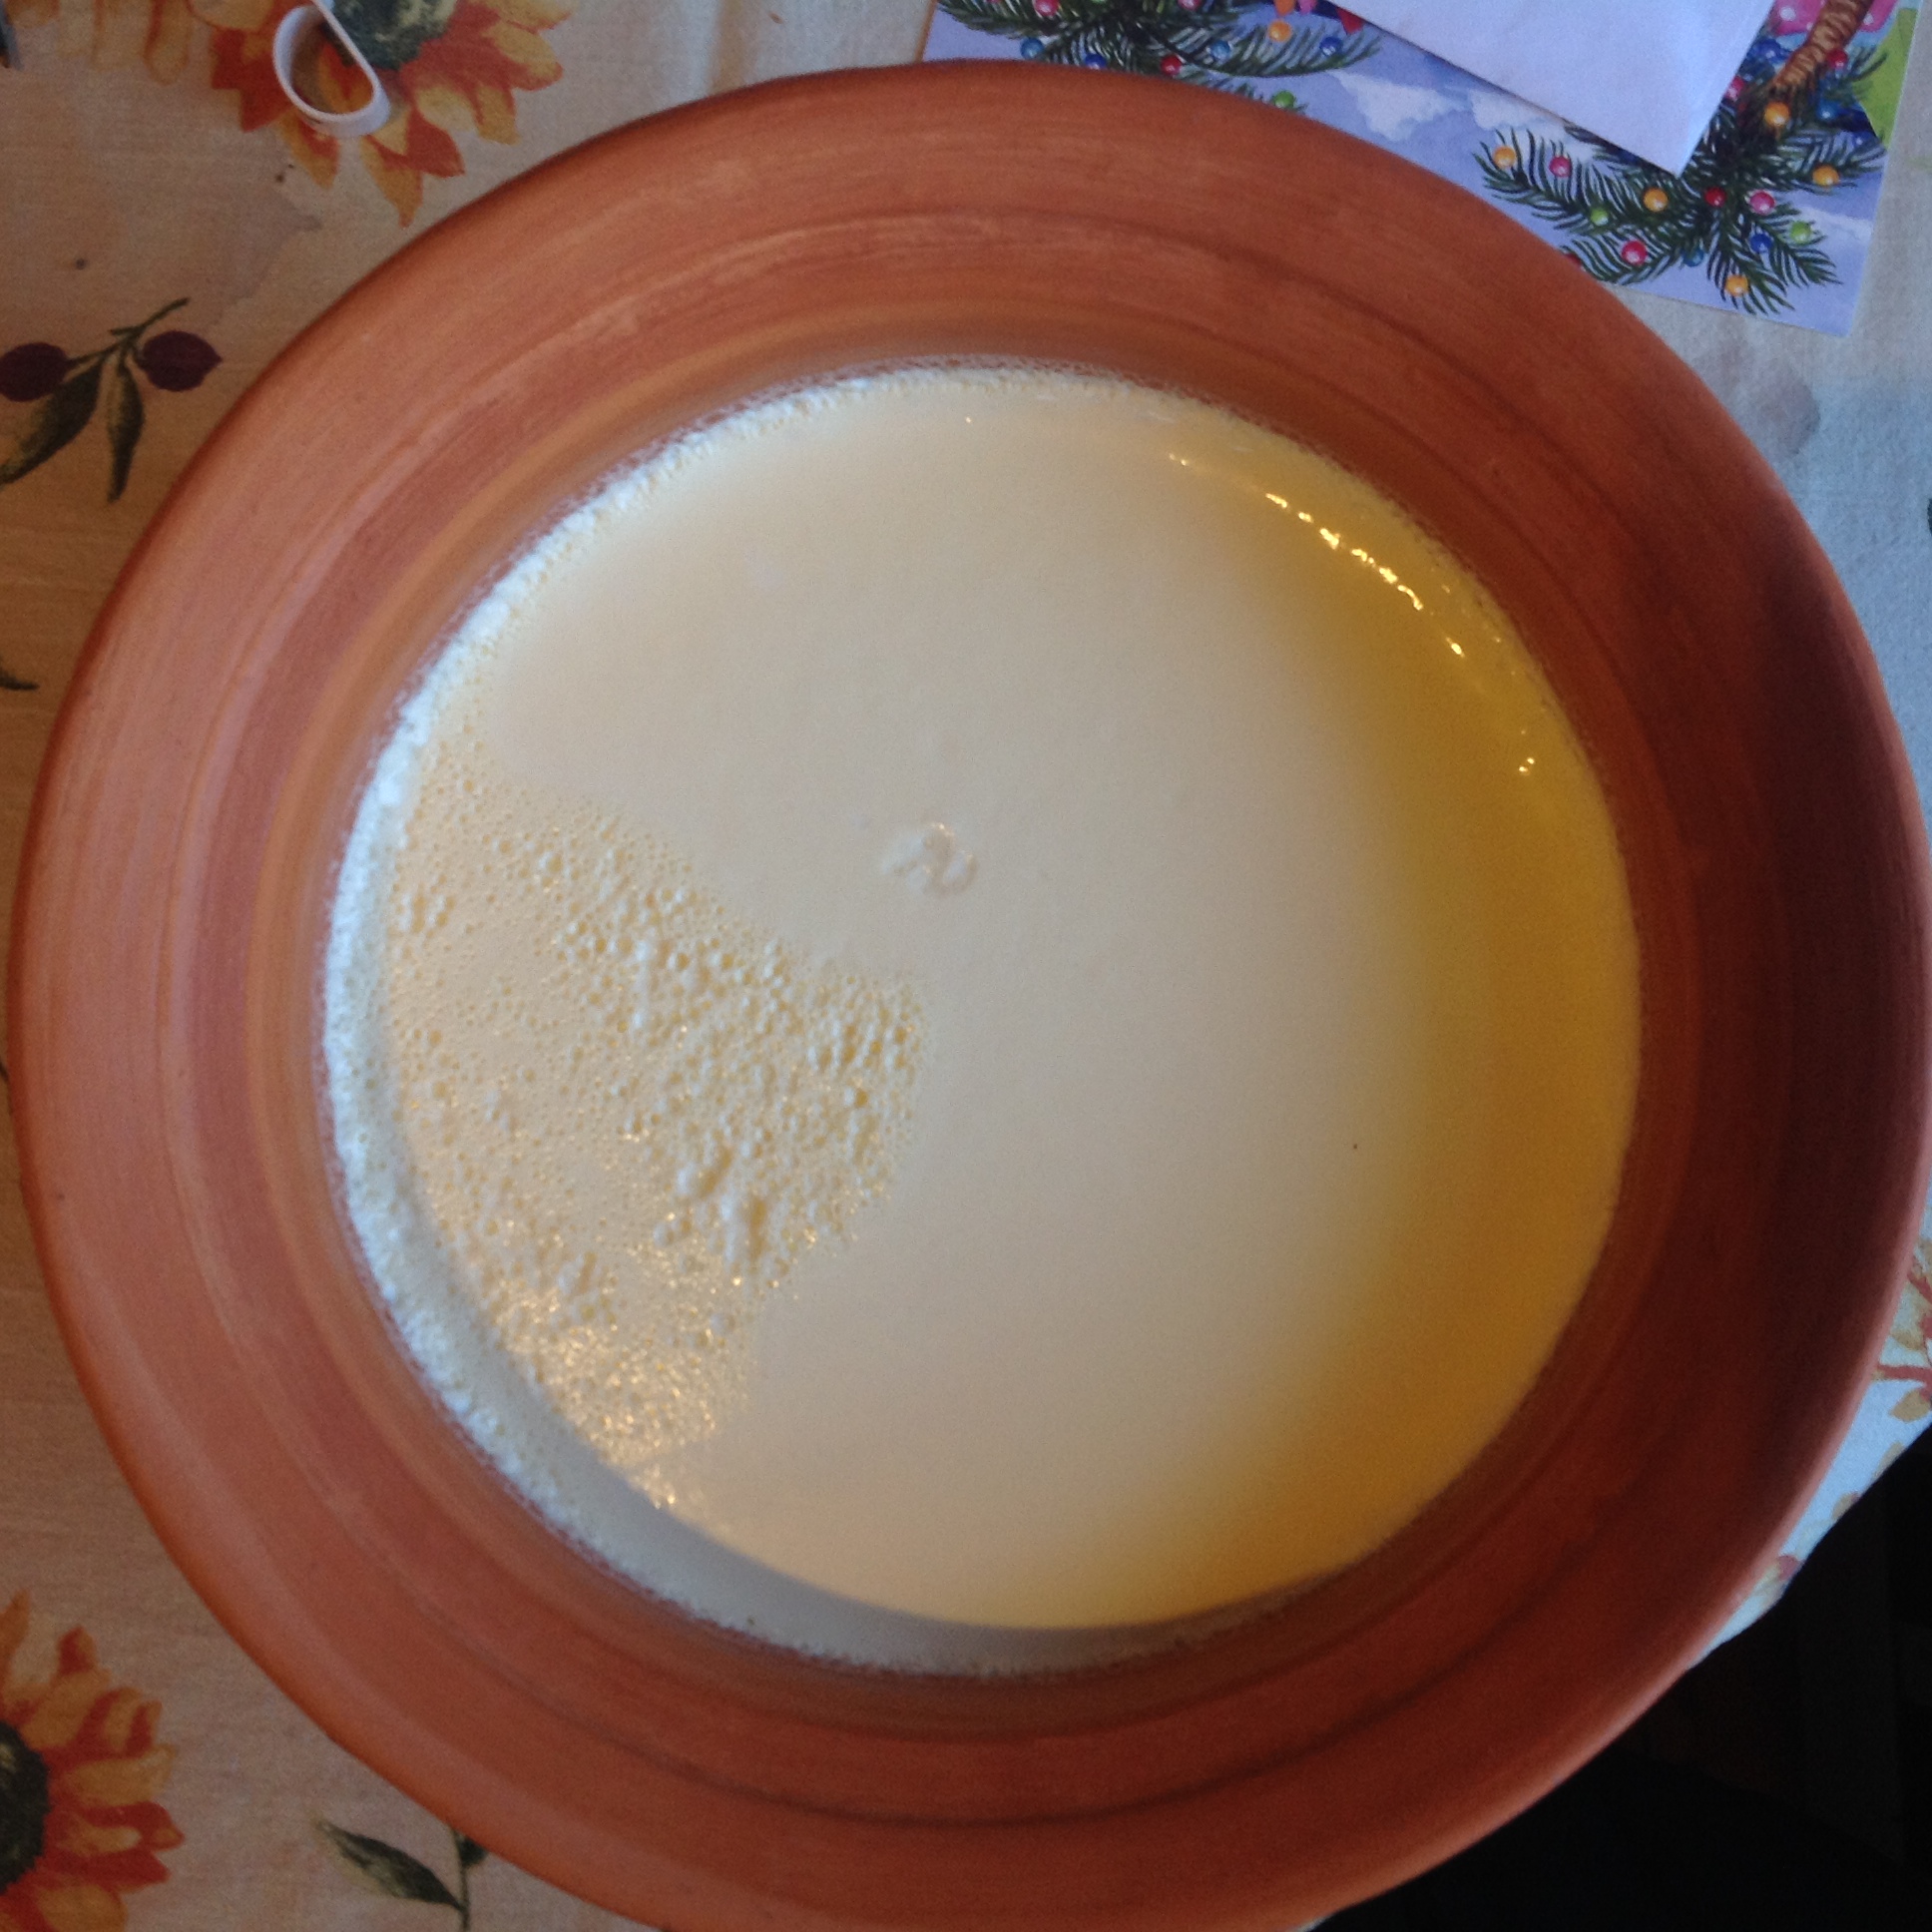
Heat the milk in your sauce pan, over medium/low heat.  Stir the milk gently as it heats to make sure the bottom doesn’t scorch and the milk doesn’t boil over.   You will bring the milk to 185°F.  Turn the heat down when it reaches temp, and try to keep it there for 5 minutes or a bit less.  Heating the raw milk does not kill the valuable enzymes, but it does change the protein structure, so the milk can become more solid when the culture is added.  I hear that the long you keep the milk right at 185, it sets more thickly, like greek yogurt.

Create an ice bath on your sink, with water and ice.  Place your sauce pan in there to let the milk cool to 110°F. Gentle stir.

Remove the milk from the ice bath at 110, and whisk in the 3 T of yogurt.

Incubate the yogurt in order to set it – pour it into the clean mason jar, or Earthenware pot (this is what they use in India, and there is nothing better for taste and texture!) and cover.  I set the pot right on the hot water bottle (or a heating pad set veeery low) and then wrap it up in a big blanket, careful that it will not spill.  Then I place it in a quiet dark place, like a closet, and let it sit overnight, or all day if I made this in the morning.

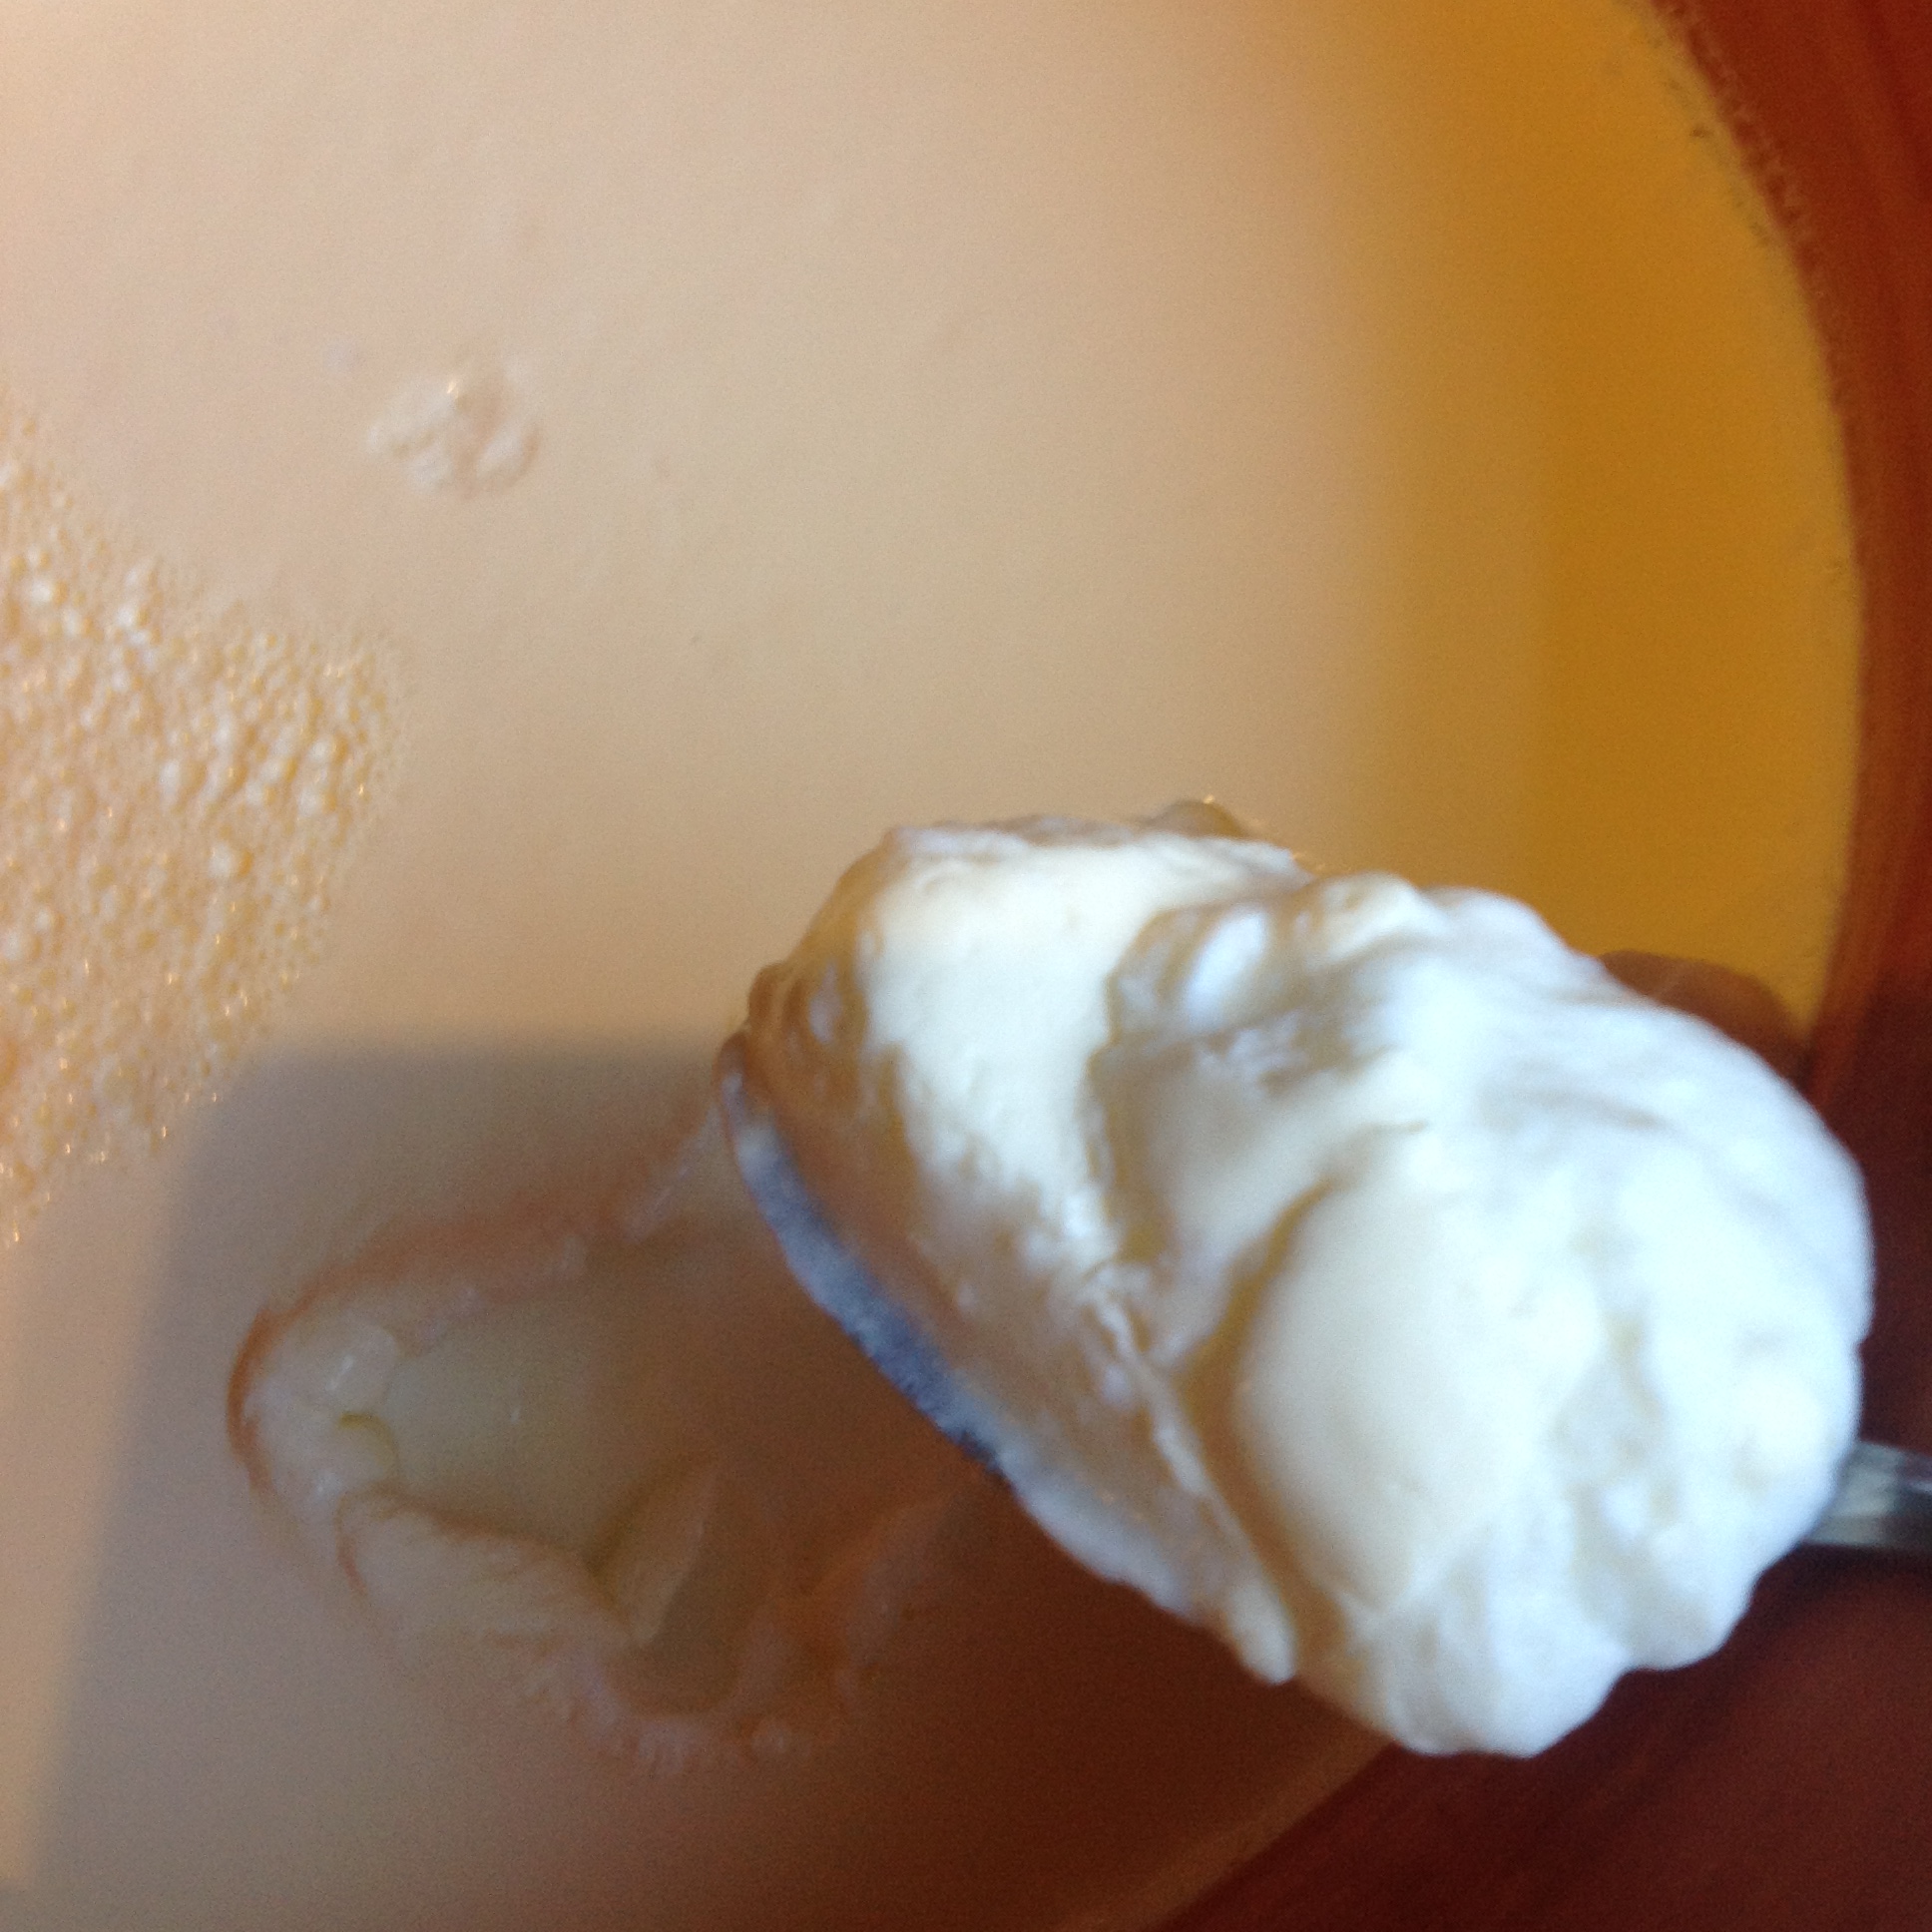
Check your yogurt. It should be relatively jiggly and yogurt-like after about 7 or 8 hours.  Place it in the refrigerator, and it will get an even thicker consistency.  This will also help it to keep for about 10 days to 2 weeks.

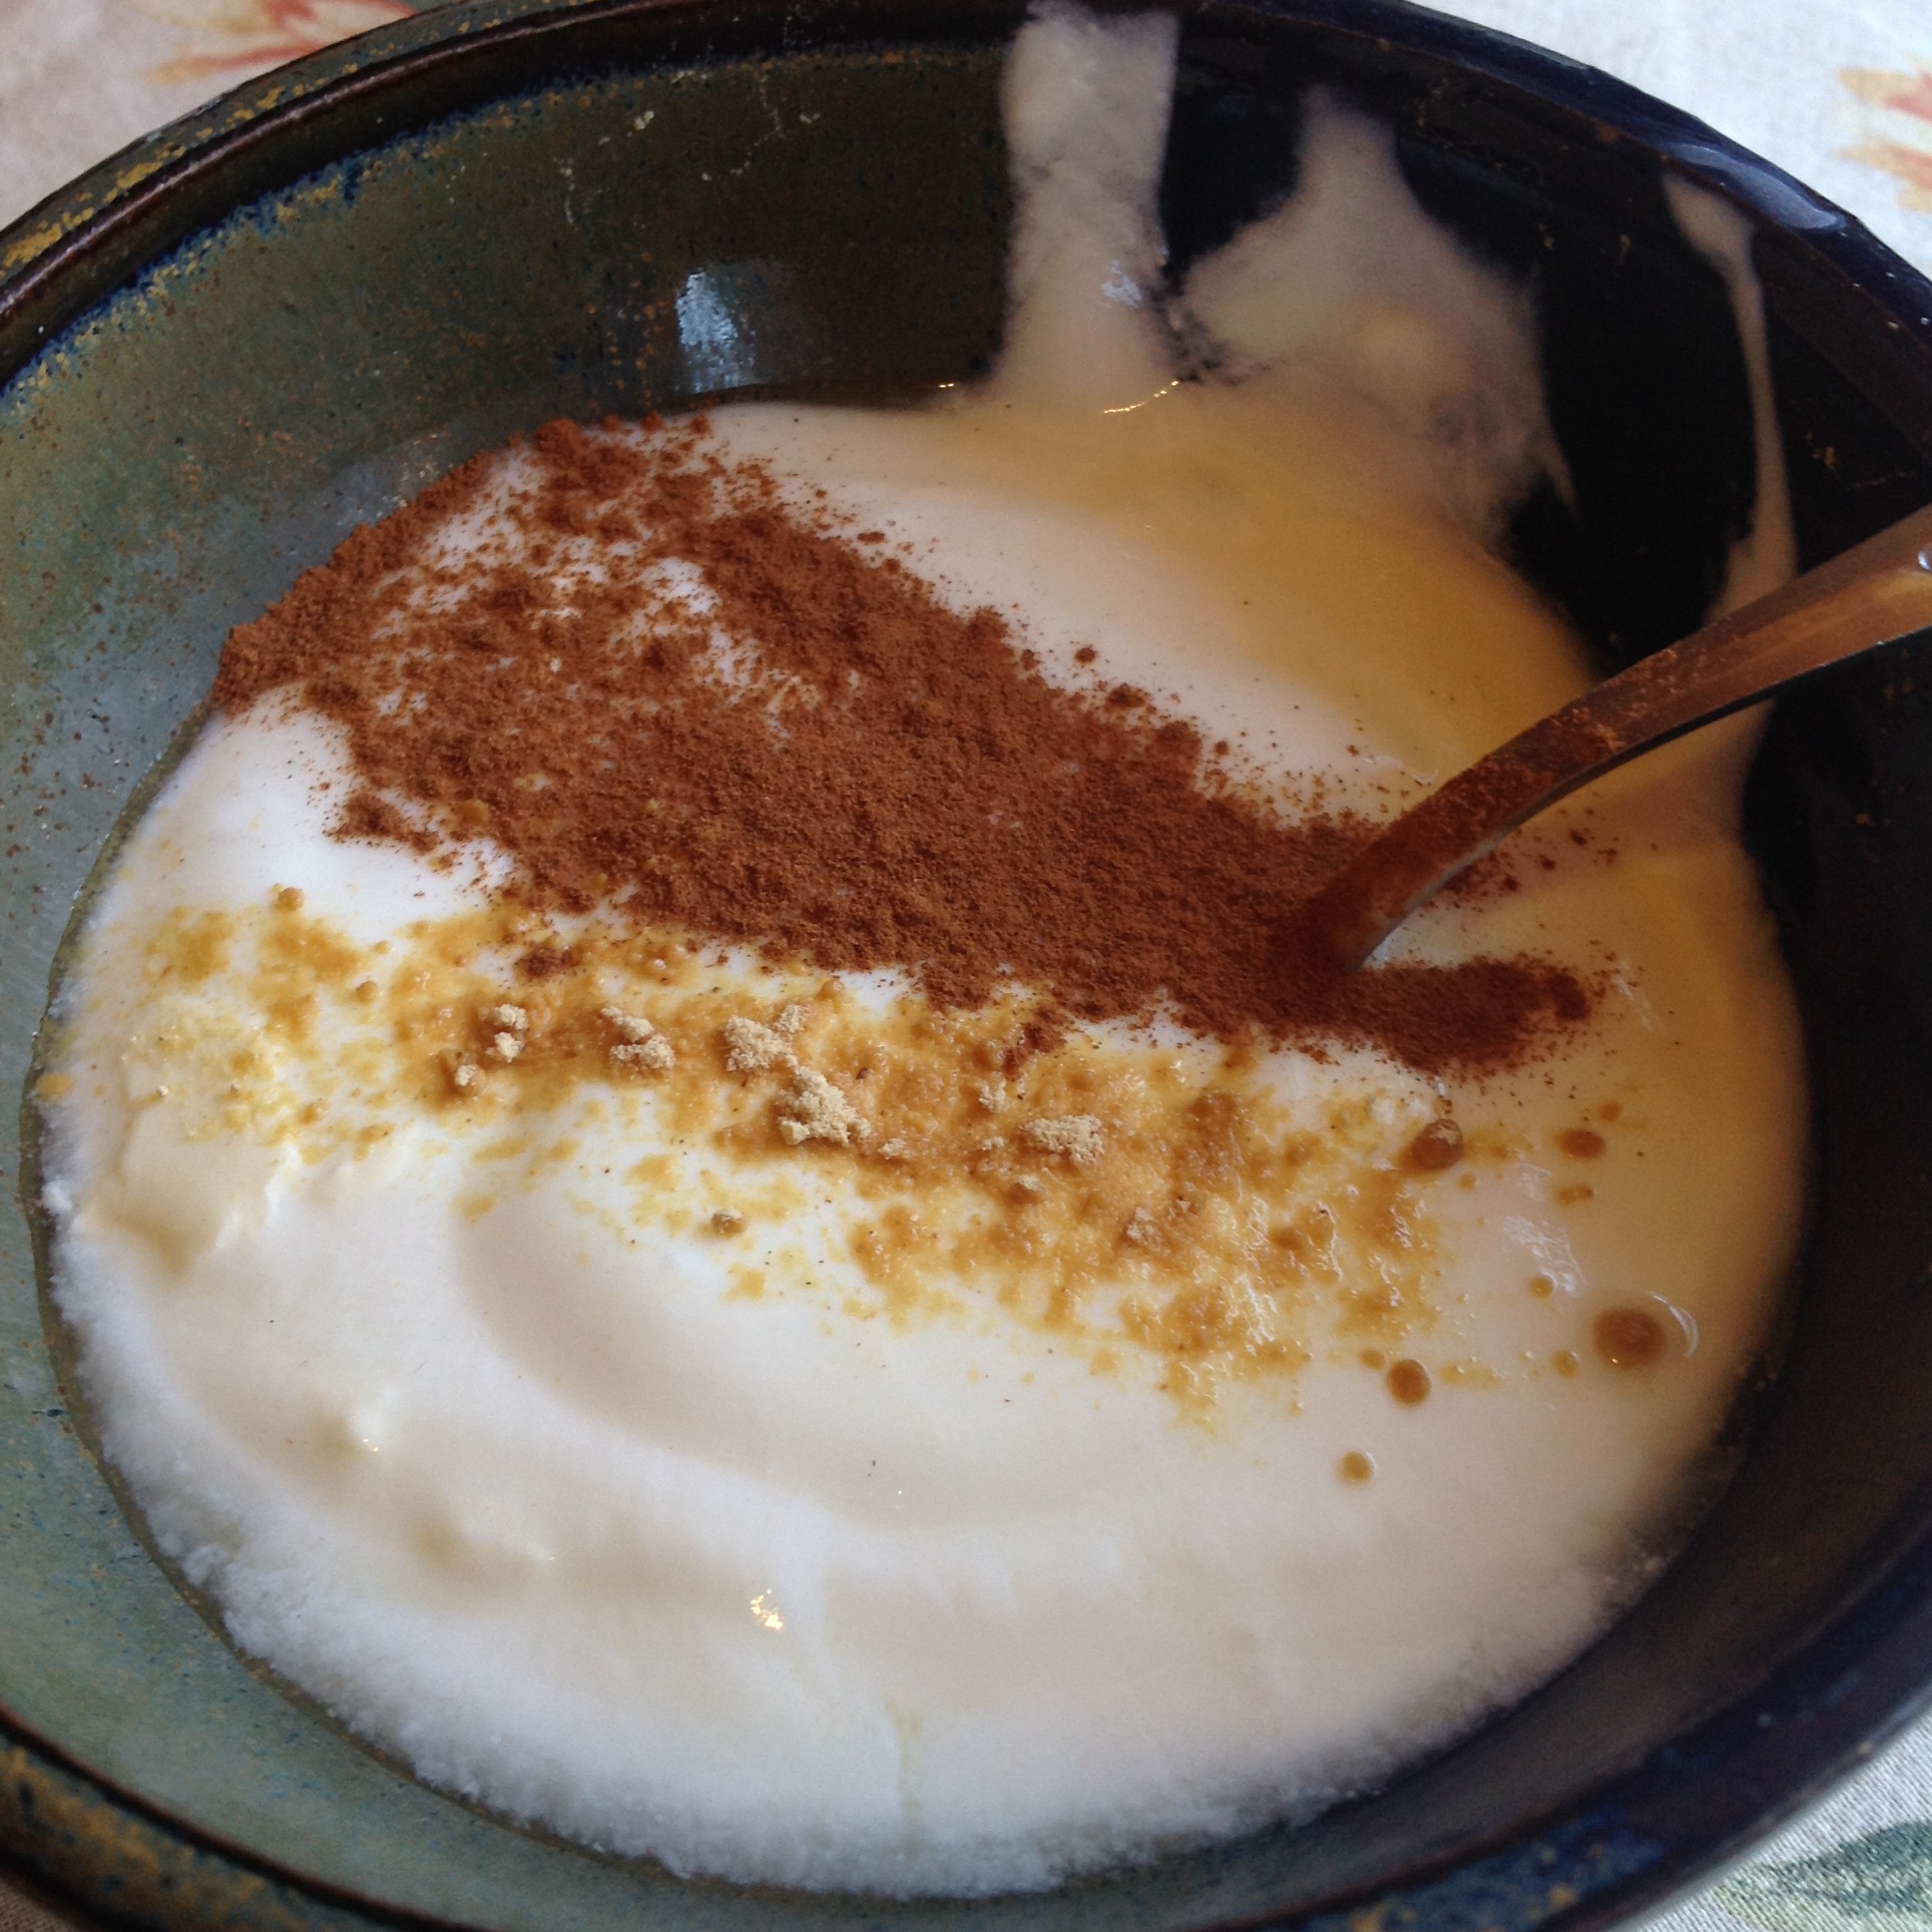
I prefer my yogurt to completely cool before enjoying it.  Home made yogurt is a bit tang. My favorite ways to use it are alongside curries or recipes like Aloo Gobi for a natural pro-biotic action, or with ginger, cinnamon and honey, alone or with hot cereal.

photo 2

Yogurt has very similar qualities to Kapha dosha – white, sticky, heavy and cold. It is considered a very nourishing and building food, not to be eaten for those who already have excess mucus in the body, or who are trying to lose weight (exception perhaps in very small amount after meals with digestive spices, called ‘Takram.’) It is best eaten in small amounts for Pitta and Vata, again with digestive spices.

Yogurt and fresh fruit is a poor food combination according to Ayurvedic principles, meaning that it is very hard to digest and can cause ama, or toxin to be formed. If you commonly do this, notice if you have gas or bloating afterward – we only really learn through experience!

photo 4 photo 5

photo
Full Yogurt Moon

Love, Adena

Posted on

Quick Healthy Meals: Warm Maki Rolls and Miso Soup

I often have clients ask me, “What do YOU eat?” Which is a good one…we all have our staple recipes, but it can be hard to branch out, and even harder to find something quick, simple and healthy to add to our recipe repertoire. (I spelled that word right the first time! Yeah! 😉 )

Both of these dishes, in their most simple form, only require a few ingredients.  Two of my pantry/fridge staples, which may be new ones for you, are Nori sheets and Miso paste.  These are two ingredients that can be expensive, but truly are a great value in the long run.  If you spend $20 now, you’ll have the base for at least 10 health meals – the miso goes even farther because all you need is a tablespoon full at the time.  AND it’s a whole food pro-biotic.

Making sushi is so easy – if you’re not too set on dong it the ‘right’ way.  All you need is a grain and some nori sheets.  Nori sheets last a long time in the pantry. You might have found that out the hard way – realizing that you do have some in there…but maybe they have been there for 6 months plus because you haven’t had energy to throw that sushi making party yet.  It doesn’t have to be that big of a deal.  They’re actually very simple to utilize, if you have a couple of staple recipes to throw them in. – again, being miso soup and simple maki rolls.

miso
Recipe for the Sweet Potato Biscuit can be found if you click the pic above.

My Quick Miso Soup
Best for Vata and Autumn
Serves 1
1 Scallion
1/2 c cubed tofu
1/2 c torn arugula, kale or any other leafy green
1/2 nori sheet, ripped into irregular pieces by hand
1 T Miso Paste (I like this kind.)
Boiled Water

Boil water in a tea pot, or pot on the stove top. While this is boiling, cube some tofu and chop your scallion. Grab your favorite bowl and place the scallion, tofu and greens in there. Pour hot water over these ingredients, to just about fill your bowl. Add the nori (I like to add it piece by piece to see it wilt) and stir in your spoon full of miso paste. Stir slowly and gently, allowing the hot hot water to wilt the vegetables, warm the tofu, and dissipate the miso. I love this as a quick breakfast, or light dinner.

Warm Quinoa Maki Rolls
Serves 1
Tri-doshic – Tamari or soy Sauce can imbalance Pitta

1 Nori sheet
1/2 small carrot, cut into long, thin slices
A few arugula leaves, and/or thinly sliced scallion
1/2 c cooked quinoa – make more and save it for later.

Cook the quinoa, covered over med-low heat. It take about 20 minutes, and the ratio is just over 1 part seed to 2 parts water. You can do this with leftover quinoa, but half the reason these are so satisfying is because they are warm. Lay the nori sheet on a large plate or cutting board, shiny side up. Spread the warm, fluffy quinoa over 3/4 of the nori sheet, all the way to the edge (except for the far edge and 1/4 of the sheet that you are leaving empty – see pic.) On the edge closest to you, lay the thinly sliced carrot or scallion, and begin to roll it gently, away from you. The open part of the nori sheet acts sort of like glue, when the warm quinoa sticks it all together.
Slice gently and carefully with a serrated knife (this makes ALL the difference in making your roll presentable and easy to eat.)

Serve with tamari for dipping, and/or the cashew cream sauce below.

sushi2

sushi1

Good-on-everything Cashew Cream Sauce
Can aggravate pitta due to the salty and pungent flavors, balances Vata

1 c raw cashews
4 cloves garlic
1/4 tsp black pepper
1/4 tsp salt
1/2 c water (more or less to make your desired consistency)

Add all ingredients to a blender, and puree. You’ll see that my sauce was green because I decided to add cilantro. Optional, of course. Keeps in the fridge for a day or two. Use on zucchini ribbons for a raw ‘pasta’ or on actual pasta with other veggies – warm or cold.

These recipes and others like them are in my Healing Diet Recipe Guides – coming soon!

Posted on 1 Comment

How to Make Aloo Gobi

Aloo Gobi is one of my go-to’s for a quick dinner with the hubby.   It became a favorite when I was traveling in India’s state of Rajastan, and I love it even more for it’s simplicity.

Aloo means potato, and Gobi is cauliflower (this word also brings to mind the Gobi Desert, reminding me of its desert origins.)  But : BONUS : this can be made with local ingredients – except for the spices. It’s usually prepared with tomato, and sometimes chickpeas are added for extra protein.

It can be made super spicy and dry, or made with a thicker gravy. That all really depends on the amount of water you add, and the spices you choose.  I am not one to really measure…and as you become more and more familiar with the recipe and ingredients, you can make it your own.  Here is a general and yummy recipe, which I am also including in my Healing Diet Recipes for Kapha eBook and email course, available soon.

Catering at Metta Earth Institute

Aloo Gobi

Season: Spring, Balances Kapha
Serves 4, 30 minutes

1 Head of Cauliflower
3 Potatoes (red, white, yellow, purple, even sweet – which are not traditional but are still yummy)
2 Small Tomatoes
2 T Ghee
1 c Water
1/4 tsp Hing (Asafoetida)
1 T Cumin seeds
1.5 tsp Mustard seeds
6 Cloves or 1/2 tsp powder
2 T Coriander powder
1/2 tsp Salt
1/4 tsp Black pepper
1/4 tsp Cayenne OR 1 chopped jalepeno or serrano pepper (optional)
1 c cooked chickpeas, or 1 can (optional)

Cilantro to garnish
Yogurt to garnish
Lime slices to garnish

* Serve over cooked basmati or brown rice, or quinoa

Chop the cauliflower, tomatoes, jalepeno (optional) and cube the potatoes ahead of cooking.  Place a large pot over medium-high heat and add the ghee.  Once it’s melty and getting hot, carefully add the cumin seeds and mustard seeds, and the hot pepper if you are choosing to go traditional.  Stir often for about 2 minutes until you start to smell them or heat the mustard seeds pop. Add the Hing (asafoetida), coriander, clove, black pepper and cayenne.  Stir briefly, then add potatoes.  Stir to coat them with the spices and ghee, then add the water.  Cover the pot, and bring it to a high simmer for less than 10 minutes, then open the lid and add the cauliflower and tomatoes.  Check regularly, and stir to prevent sticking.  You might also turn down the heat.  Again cover, and cook for another 8-10 minutes, mixing every once in a while.  Add salt, and stir, then check the potatoes and cauliflower for doneness. The tomatoes should break down and melt into the gravy.  Ad cilantro now, if you like, or use it ad a garnish.  If you want to add cooked chickpeas, you can also add them in now, and cook for another 2 minutes just to warm them through.  If you see the cloves, remove them before serving. They are fine to eat, but getting a whole clove in your mouth is pretty intense. 🙂 Add more salt if necessary.

Colorful Channa (garbanzos)

Let me know what you think! Send me an email or leave a comment.

Love, Adena

Posted on

Start Cooking with more Flavor: 5 Chutney Recipes

Cooking in an Ayurvedic way does not need to be intimidating.  You don’t need to chant for hours over your stew pot, and you don’t need to know all the details about the doshas to begin to cook for yourself in a healthy way.  (Though of course those things won’t hurt 🙂 ) We can tap in to how the food we eat is going to affect our body and mind through a simple diagnostic technique – taste.

Ayurveda talks about 6 tastes – sweet, sour, salty, pungent, bitter, and astringent.  Some of these are more obvious than others.  Each of these tastes affects our body and mind in different subtle ways.  Some of the tastes are more nourishing and building (sweet) and others cleansing and lightening to the body (pungent, bitter, stringent) and others also great for stimulating digestion (sour and salty.)

chakra

In the west, most of our condiments tend to add a lot of flavor, but also bog down digestion – thinking jams, ketchup, and mayo for a simple few.  There are some simple Indian-inspired condiments which add so much flavor to almost any dish, that help us to get a more varied flavor profile – more ‘tastes’ – into out diet to help stimulate or cool digestion.  A more flavorful diet helps us feel satisfied, and curbs cravings as well.

Here are five simple chutneys you can try to inspire your cooking and encourage your exploration of taste.

Cilantro Chutney

Cooling: astringent, sweet, bitter

1 tsp cumin seeds

3 T sesame seeds

1/4 c flaked coconut

1 bunch of cilantro

1 inch peeled fresh ginger

About 2 T water

1 T lime juice

1 T raw honey

1/2 tsp salt

Blend all ingredients together.  Toasting the coconut lightly before blending adds another layer of interesting flavor. Excellent on kitchari, or any spicy curry in Summer.

cil

Tamarind Chutney

Neutral: Sour, Sweet

2/3 c Raisins, soaked in 3/4 c hot water for 5 minutes

1/2 chopped jalepeno

3 T chopped cilantro

1 T chopped fresh mint

1/3 c tamarind concentrate

1/2 tsp garam masala

1/2 tsp salt

1 tsp raw honey

Puree all ingredients until smooth.  For more spice increase the jalepeno. Sour will be the dominant flavor. Really aids in digestion – traditionally served with fried food, though excellent on kitchari.

tamarind

Mango Chutney

Cooling: sweet, pungent

I recommend you use Ataulfo mangoes.  They are super melty and sweet, from Mexico and South America are closely related to Indian varieties.

2 Ataulfo Mangoes (squishier the better!)

1/2 tsp finely chopped fresh ginger

1/4 tsp black pepper

2 T lime juice

1/8 tsp turmeric, adds to the golden color

2 tsp maple syrup, or 1 tsp raw honey

pinch of cayenne

pinch of salt

Peel and take out the core of the mango.  Either chop finely and simply stir all the ingredients together, or for a very smooth chutney, blend together.  Sweet and spicy.

Ginger Chutney

Heating: Pungent, Sweet

1 cup grated fresh ginger

1 1/2 c water

1 T lime zest

1/2 c apple sauce

1/2 tsp ginger powder

Combine all ingredients and simmer over med-low heat for 15 minutes, until reduced.  Stir continuously to prevent sticking and burning.  It’s quite spicy, so a little goes a long way! Stimulates digestion. Serve alongside any curry, or even apple pie!

rait

Cucumber Raita

Cooling: Sweet, Astringent, Sour

1 c plain yogurt

1/2 c cubed cucumber, peeled

3 T chopped fresh cilantro

1 T chopped scallions

pinch of turmeric powder

pinch ginger powder

salt and pepper to taste

Combine all ingredients. Serve alongside spicy dishes to aid in cooling them down, or even top tacos with this!

Love, Adena

Adena Rose Harford is a NAMA Certified Ayurvedic Practitioner and AyurYoga Specialist helping women adopt a healthy lifestyle, make changes in diet, improve fertility and feel good during their period. Her 7-day Ayurvedic Cleanse Course is available online.  If you’re interested in learning more about Ayurveda, follow Adena Rose Ayurveda on Facebook for Ayurvedic tips, recipes and remedies.

Follow my blog with Bloglovin